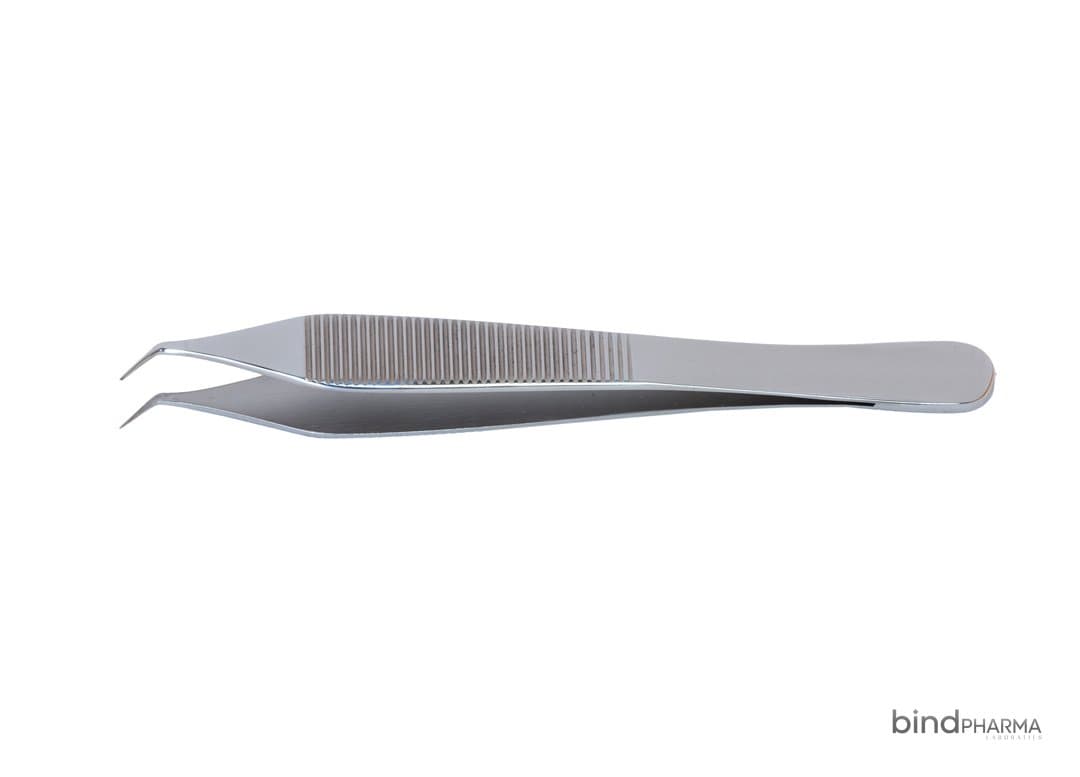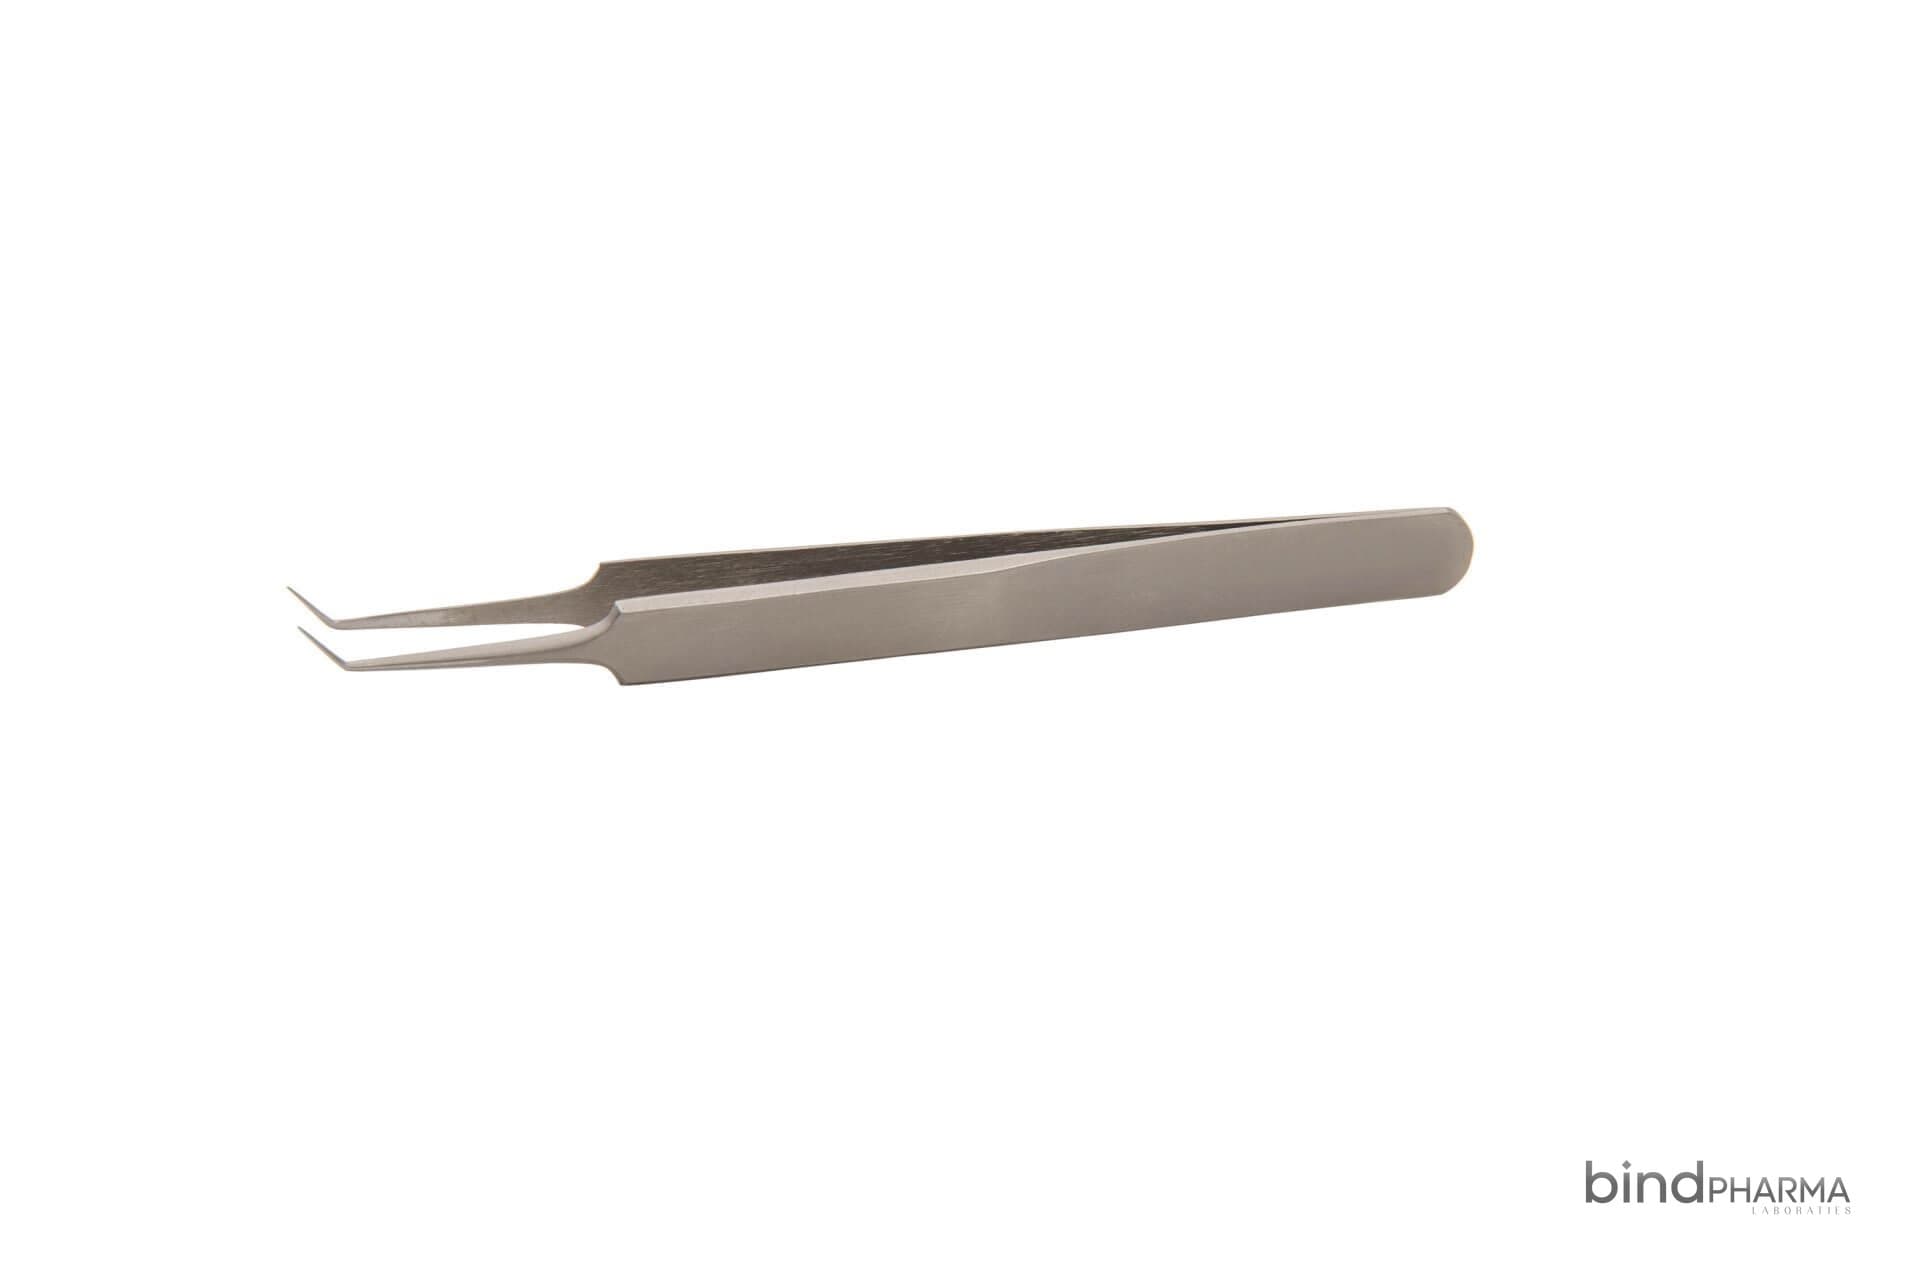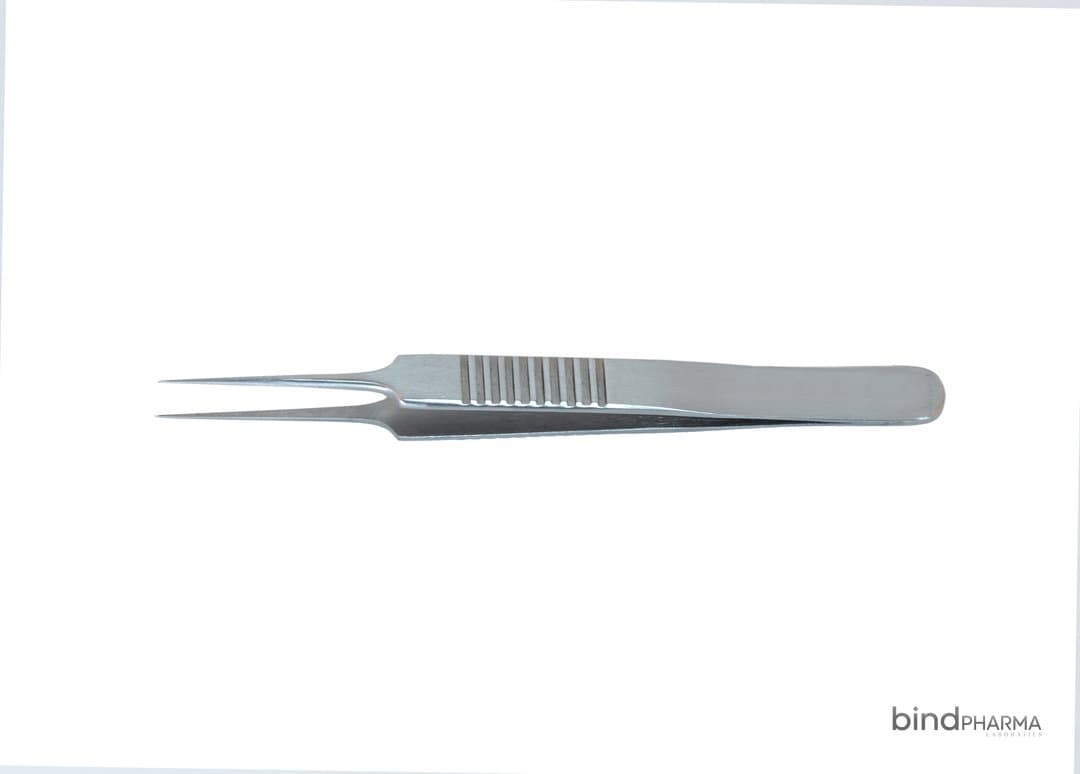
A sterile processing workflow for a hair transplant clinic is a one-way sequence: point-of-use care, transport, cleaning, inspection, packaging, sterilisation, cooling and storage, with instruments never travelling backwards through the chain. Instrument turnaround is the total elapsed time through that sequence, and it determines how many instrument sets your clinic actually needs. Clinics that measure turnaround honestly usually discover they need more sets than they own, or a faster process than they run.
This guide sets out each stage of the workflow, the failure points that appear most often in hair transplant practice, and how to calculate the turnaround figure that drives your inventory.
Why sterile processing workflow matters in FUE clinics
Hair transplant instruments are small, fine and numerous. Punches have narrow lumens, forceps have delicate tips, blade holders have threads and collets, and implanter pens have precise internal channels. All of these features trap tissue and blood, and all of them are damaged by careless handling.
Two things go wrong when the workflow is loose. The first is contamination risk, because organic debris left in a lumen or a hinge cannot be reliably sterilised. The second is instrument damage, because rushed cleaning, incorrect detergents and rough handling shorten instrument life dramatically. A disciplined workflow addresses both at once, and it costs almost nothing to implement beyond attention.
Stage one: point-of-use care in the theatre
Reprocessing begins the moment an instrument leaves the surgical field, not when it reaches the sterilisation room. Dried blood and tissue are the single biggest cause of cleaning failures and of the corrosion that ruins fine tips.
Point-of-use practices that make the rest of the process easier:
- Wipe gross soil from instruments during the case rather than at the end.
- Keep instruments moist after use, using a moist towel or an approved pre-treatment product rather than letting them dry.
- Never soak instruments in saline, which is corrosive to stainless steel over time.
- Open hinged instruments such as forceps and needle holders so surfaces are exposed.
- Separate sharps and single-use items at the point of use so they never enter the reusable stream.
Assign point-of-use care explicitly to a named role. When it belongs to everybody it belongs to nobody, and instruments arrive at the sterilisation room dry and difficult.
Stage two: transport in one direction
Contaminated instruments should travel to the reprocessing area in a closed, leak-resistant container, along a route that does not pass through clean storage or graft handling areas. Clean, sterilised instruments return by a different route or at a different time.
The rule to enforce is simple: nothing contaminated is ever placed on a clean surface, and nothing clean is ever carried in a container that has held contaminated items without reprocessing in between. Clinics with a single small back room can still achieve this with defined containers, defined shelves and defined timing.
Stage three: cleaning, the stage that determines everything
Sterilisation cannot compensate for inadequate cleaning. If debris remains, the item is not sterile regardless of what the autoclave printout says.
Manual cleaning
- Use enzymatic detergent at the correct dilution and temperature, following the manufacturer's instructions.
- Clean below the water line to avoid aerosolising contaminants.
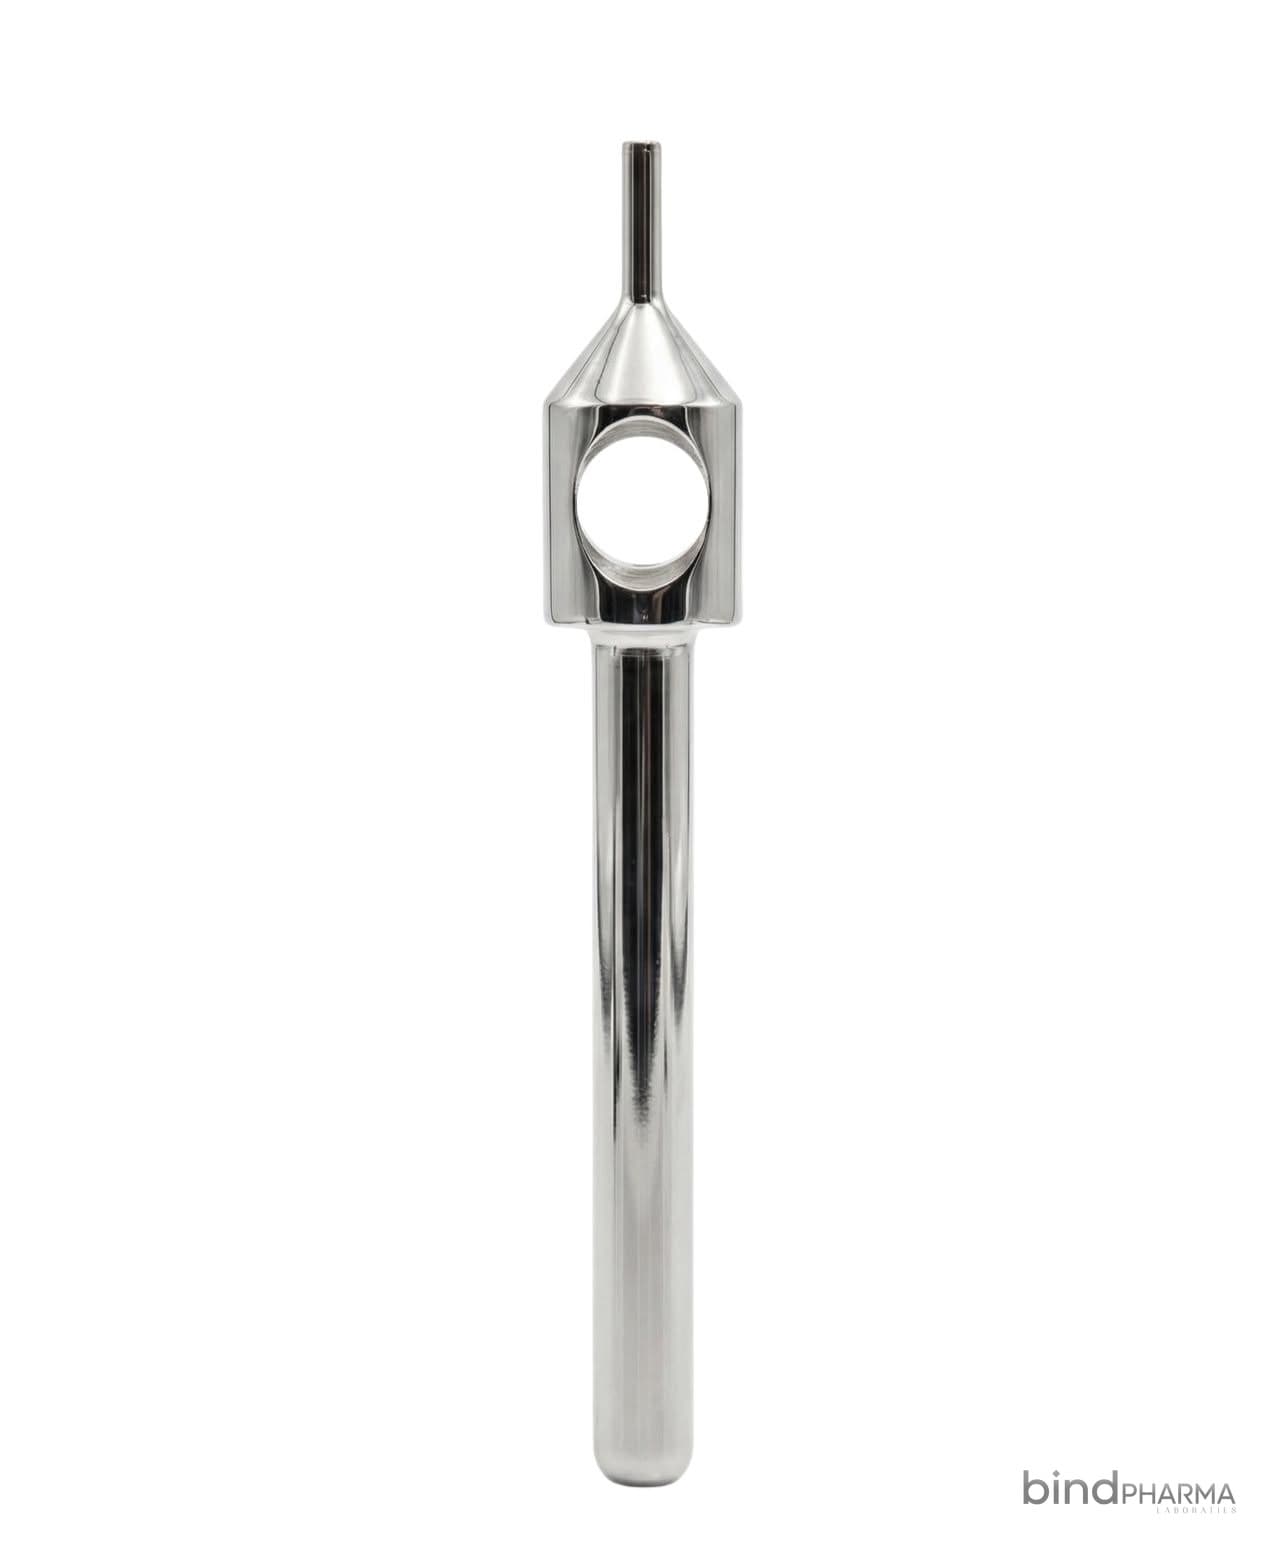
- Use soft brushes sized for lumens, particularly for punch bores and implanter needle channels.
- Brush hinges, serrations, ratchets and box locks specifically, since these trap the most debris.
- Rinse thoroughly with purified water to prevent mineral deposits and staining.
Ultrasonic cleaning
Ultrasonic cleaning is highly effective for fine instruments, but it needs discipline. Load instruments open and unnested, do not overfill the chamber, do not mix dissimilar metals in the same cycle, and degas and change solution according to protocol. Rinse after the ultrasonic cycle; the bath is not a rinse.
Drying
Dry completely before packaging. Residual moisture causes staining, corrosion and sterilisation failures. Fine lumens benefit from filtered compressed air if available.
Stage four: inspection before packaging
Inspection is the quality gate that keeps unusable instruments out of the theatre, and it is the stage most often skipped when the clinic is busy.
Inspect every instrument under magnification for:
- Residual debris in lumens, hinges and serrations.
- Corrosion, pitting or staining on working surfaces.
- Tip alignment on forceps and needle holders, checked by closing them and viewing the tips.
- Edge condition on punches and any reusable cutting instrument.
- Smooth action on ratchets, collets and screw fittings.
- Legible identification markings so sets stay complete.
Anything that fails inspection goes to repair or retirement, never back into a set. Keeping a labelled quarantine tray in the processing area makes this decision easy to enforce.
Stage five: packaging and load assembly
Package instruments in sets that mirror how they are used in theatre. If a tray is assembled the way the case runs, setup becomes faster and missing items are obvious immediately.
- Use cassettes or trays that protect fine tips from contact damage.
- Place tip protectors on delicate instruments where appropriate.
- Keep hinged instruments in the open position for steam penetration.
- Do not overload trays; steam needs space.
- Include chemical indicators inside packs as well as external indicators.
- Label each pack with contents, date and load identification.
Standardised set composition is a quiet efficiency win. A technician who knows exactly what a tray contains does not open three packs looking for one instrument.
Stage six: sterilisation and cycle selection
Follow the instrument manufacturer's validated parameters, and follow your autoclave manufacturer's loading guidance. The essentials to have documented and monitored:
- The correct cycle type for the load, with wrapped instruments run on a wrapped cycle.
- Load configuration that permits steam circulation, with no stacked or nested trays.
- Biological indicator testing at the frequency your protocol and local regulation require.
- Air removal testing appropriate to your steriliser type.
- Full cycle records retained and traceable to the loads they represent.
- A complete drying phase, because wet packs are compromised packs.
Resist the temptation to shorten cycles or skip drying to speed turnaround. If turnaround is a constraint, the answer is more sets, not compromised cycles.
Stage seven: cooling, storage and stock rotation
Sterilised packs must cool undisturbed before handling; moving warm packs draws contamination through the wrap. Store in a clean, dry, temperature-stable area away from splashes, direct sunlight and heavy traffic, and rotate stock so older packs are used first.
Event-related sterility means a pack stays sterile until its barrier is compromised, so storage handling matters more than an arbitrary date. Minimise handling, avoid crowding shelves and inspect packs for integrity before use.
Calculating realistic instrument turnaround
Turnaround is the sum of every stage, including waiting time, and waiting time is usually the largest component.
Measure honestly across a normal day:
- Time from end of case to arrival in the processing area.
- Queue time before cleaning starts.
- Cleaning and drying time.
- Inspection and packaging time.
- Steriliser cycle time including drying.
- Cooling time before the pack can be moved.
Most clinics that time this properly find turnaround falls somewhere between two and four hours in practice, far longer than the autoclave cycle alone suggests. Once you know the real figure, set counts follow arithmetic: if you run three cases per day and turnaround is three hours, you cannot serve those cases from one set no matter how good your team is.
Reducing turnaround without cutting corners
- Start point-of-use care during the case, not after it.
- Batch cleaning by set rather than by individual instrument.
- Add ultrasonic capacity before adding autoclave capacity, since cleaning is usually the bottleneck.
- Run the steriliser on a schedule instead of waiting for a full load at the end of the day.
- Keep enough sets that reprocessing is never rushed by a waiting case.
Documentation and traceability
Every sterilisation load should be traceable to the instruments in it and, where required, to the patients whose cases used them. At minimum, record the load number, date, cycle parameters, indicator results and the operator responsible. Keep a maintenance log for the ultrasonic cleaner and autoclave, including validation and servicing.
This documentation supports regulatory inspection, but its everyday value is different: it tells you when a process is drifting before it fails. A steriliser whose cycles are slowly lengthening, or an inspection log with rising rejection rates, is giving you early warning.
Frequently asked questions
How long does instrument turnaround actually take in a hair transplant clinic?
Measured end to end, including transport, queueing, cleaning, drying, inspection, packaging, the steriliser cycle and cooling, most clinics find turnaround takes two to four hours. The autoclave cycle is only a fraction of that. Measuring your own figure is essential because it determines how many instrument sets you need.
Can FUE punches be cleaned in an ultrasonic bath?
Reusable punches generally reprocess well in ultrasonic cleaners, provided lumens are brushed first, instruments are not nested, dissimilar metals are not mixed, and the manufacturer's instructions are followed. Ultrasonic cleaning does not replace manual lumen brushing for narrow bores; it complements it.
What is the most common sterile processing failure in small clinics?
Allowing instruments to dry with blood and tissue on them before cleaning begins. Dried organic material is difficult to remove, causes corrosion on fine tips, and undermines every stage that follows. Consistent point-of-use moisture management solves most problems downstream.
How many instrument sets does a clinic need?
Take your measured turnaround time and your daily case schedule, and ensure that no case ever waits on reprocessing. Then add at least one spare set for damage, contamination or an unexpected additional case. Clinics running back-to-back cases typically need more sets than they initially plan for.
Talk to Hair Restoration Supplies
Reliable reprocessing depends on instruments built to survive it. Hair Restoration Supplies manufactures FUE punches, sapphire blades, DHI implanter pens, forceps, needle holders, micromotor handpieces and complete surgical sets in Türkiye, supplying clinics and distributors that need instruments to perform identically cycle after cycle.
If you are building or reviewing a sterile processing workflow, we are glad to advise on set composition and the quantities that keep turnaround comfortable. Request a free sample or the product catalogue by email at [email protected] or on WhatsApp at +90 546 846 37 31.